Wednesday 29 February 2012

2012 February tag

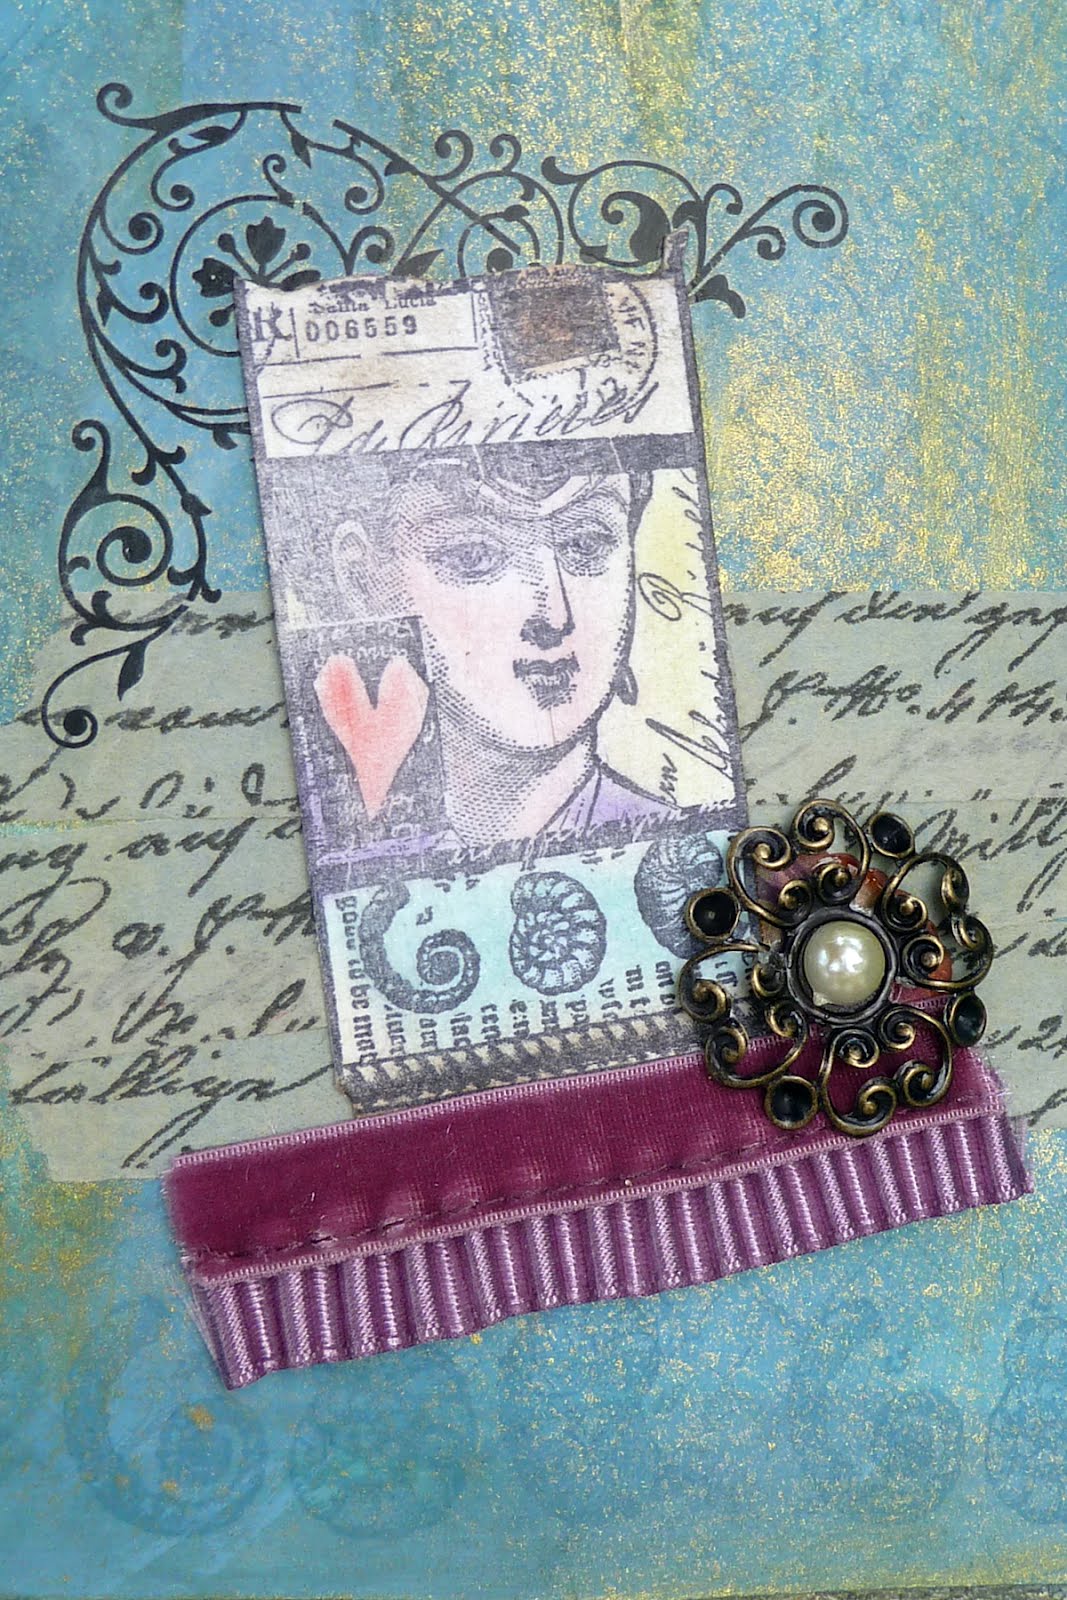
This is my version of the February tag that Tim Holtz made for his 12 tags of 2012.
For more information click on the link to Tims blog in my sidebar.
Tag details in the post below.
Thanks for looking.

Tag details

My tag is a variation on Tim Holtz tag.
I have used a cuttlebug embossing folder.
Used Distress stains and white acrylic paint to colour the tag.
For the border I put a strip of Kraft card through an EK Success border punch twice.

I then used tissue tape to cover a chipboard heart.

In the centre of the heart I placed a rose that I had already made using the Tim Holtz pinecone die.
I have put droplets of glossy accents on the rose.
Then I finished off assembling the tag using various embellishments and cut words and image from the Tim Holtz paper stash pack 'Seasonal Lace.'
Thanks for looking.

Tuesday 28 February 2012

UKS Art journey Step 7

This weeks tutorials over on UKS are from Sarah (UKS Flo) and Jane (UKS Mooshu). Jane's tutorial was for scanning a converting images to use in your digital journal and Sarah's tutorial was for applying semi transparent image to our journal pages. Both are really brilliant tutorials and the best I have seen for doing this technique. Having read the tutorial from Sarah I was given enough confidence to try it for the first time. The result is not perfect but then there are no rules in Art journalling, so I am going to share it it anyway!
My painted background page.
The image applied with Claudine Hellmuth's matte medium.
Partially rubbed off image.
Completed image transfer.
Completed page.
Tim Holtz's stamp 'embrace imperfection' suited the page so well. LOL
If you want to see just how this was achieved then wander over to UKS and join the Art Journal Journey.
Thanks for looking.

Monday 20 February 2012

UKS Art journey Step 6

This week Vicki gave us a great tutorial on using layers on our Art Journal pages and lots of other great advice on paints and inks.
These photos show my page in progress and the finished page.
The blank page is one of the Basic Grey papers that I used when I made my journal
First I used gesso on page.
Then I applied a thin coat of different coloured acrylic paints.
The next stage was to use the paints a little more intense colours in different areas.
Vicki had a great tip of using acrylic ink in a mini mister so that when you use another medium over it the layer would not be smudged or disappear. I sprayed through a circle stencil with the ink.
Here is my finished page.
I veered off the tutorial a little bit at the end!
Thanks for looking

Saturday 11 February 2012

UKS Art journey Step 5

Oodles of Doodles was the theme for this weeks prompt from Claire Smillie. I think I might have got carried away with my doodling! I also tried few Zentangle patterns for first time too!
I did cheat a little and used a stencil to draw 5 circles just to get me started. I used Bristol board to doodle on and then glued the page into my journal.


Thanks for looking.

UKS Art journey Step 4

Julie Kirk gave us some great information and tips for putting journalling onto our pages. I have used one of the book pages in my made journal. I was lucky that it had a picture of a girl on it that I could use. I put a thin layer of gesso all over the page and then masked off the face before playing with lots of paint/inks and sprays. The flowers were stamped images and seemed to go with the flowers in the girl's hair. The journalling was cut from various magazines.

Thanks for looking.

Monday 6 February 2012

Journal your Art CJ

This is my entry for Gill's ( UKS Wisher) Circle Journal. She asked us to use positivity as a theme and leave space for her own journalling. I thought this phrase I found on one of the Tim Holtz stamps I have was appropriate. The doodled flowers were also stamped using Felicity's Collection Ooodles of Doodles 1.
I hope she likes it!


Thanks for looking.

Second Book of Secrets

The second Book of Secrets I made has now arrived in Canada, it was made for one of the most amazing crafters I know, so it was quite daunting making this for her. She is known as the "Queen of the mini book," you can see why by just looking on her blog HERE. I have used Tim Holtz grunge paper for the cover and Bristol board for the inner pages along with lots of paints/inks and sprays. The stamps I have used are from the Lynne Perrella collection available from Paper Artsy. I did enjoy making it and filling the drawers with all sorts of things that I hope Annette will find useful.
Get ready for an image heavy post!


Now for some close ups!


Thanks for looking.

Altered book

I was lucky enough to receive this beautiful Altered book through the post at Christmas. I am blessed to have so many clever and artistic friends and this book was made by one of them.
Irene is a really amazing crafter turning her hands to many things, I think you will agree that in doing this altered book she excelled herself.